After installing K2BAudit, K2B Audit preferences are shown in the Preferences Tool Window. Open the Knowledge Base you want to audit and take a look at K2BAudit Settings.
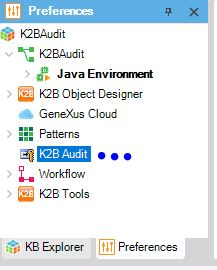 |
| K2B Audit preferences |
- Click on K2BAudit located in preferences and change "K2B Audit Knowledge Base Role" to "Audited".
 |
| K2B Audit Knowledge Base Role |
- After changing this property, it will ask you if you want to audit the knowledge base. Select "Yes".
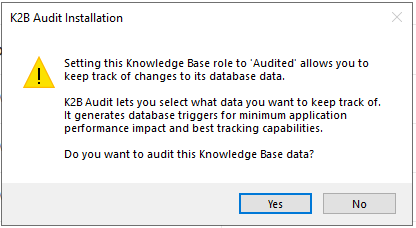 |
| Audit Knowledge Base data |
- Once done this, a popup will come to the screen asking you for the database connection of the audit application. We suggest you place the name of (YourKBName)+Audit. In this case, "KnowledgeBaseAudit".
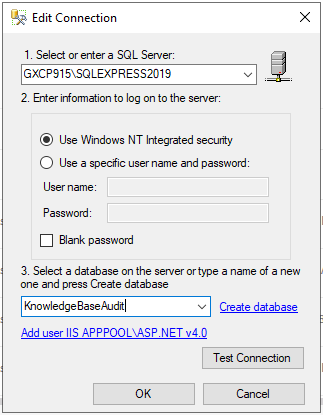 |
| DataBase Audit |
- Click on GeneXus option K2BAudit and select "Create Audit Analyze Knowledge Base".
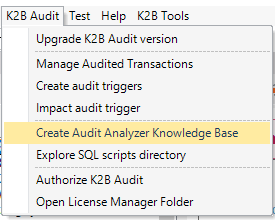 |
| Create Analyzer Knowledge Base |
- Create the Analyzer Knowledge Base. We suggest you leave the name as Genexus recommends (KnowledgeBaseName+Analyzer).
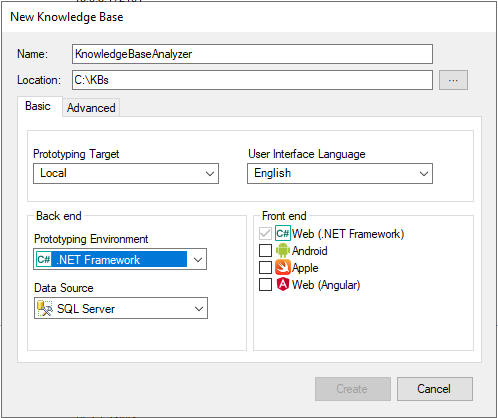 |
| Analyzer Knowledge Base |
- Once Analyzer Knowledge Base is created, it's time to create the databases. For this, click on "Build>Create Database Tables" and then on "Create".
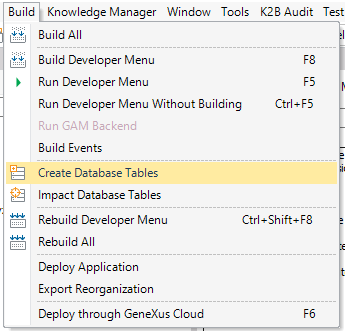 |
| Create Database Tables |
- Now that the database tables are created, Run the Developer Menu of the application in order to open the launchpad.
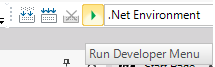 |
| Run Developer Menu |
- Once this is done, select "Home" web panel.
 |
| Home Web Panel |
- Optional: Add the Analyzer Application Developer Menu to the Bookmarks of your browser. This will facilitate the usage of the Analyzer Application.
 |
| Analyzer Application |
|