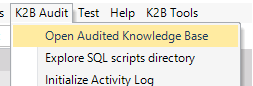
In this lesson, we are going to learn how to use K2B Audit Activity Log. This can be used to keep an eye on sensitive data (who view what), to provide customer support (follow user steps), to analyze application usage, etc. To activate K2B Audit Activity Log, follow this steps:
- Open Genexus and go to K2B Audit located inside Preferences.
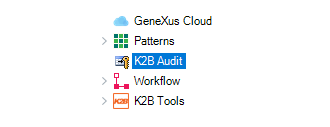 |
| K2B Audit |
- Inside K2BAudit Properties, change "Activity Log Knowledge Base Role" to "Logged".
 |
| Activity Log Property |
- Click "Yes" in order to initialize the activity log.
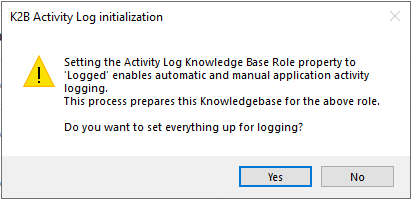 |
| Activity Log Initialization |
- Open Audit Analyzer Knowledge Base.
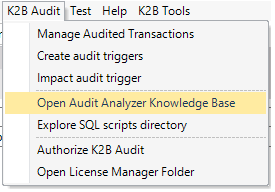 |
| Open Analyzer Knowledge Base |
- Go to K2B Audit located inside Preferences.
|
| K2B Audit |
- Inside K2BAudit Properties, change "Activity Log Knowledge Base Role" to "Analyzer".
 |
| Activity Log Property |
- Click "Yes" in order to initialize the activity log in the Analyzer Knowledge Base.
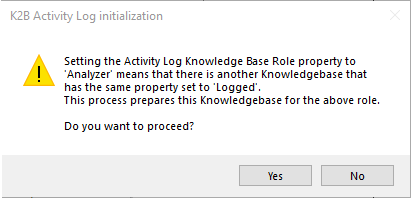 |
| Activity Log Initilization |
- Build your Analyzer application and go back to your Audited Knowledge Base.
 |
| Audited Knowledge Base |
- Go to Product Entity Services and add a Actions node to the Work With:
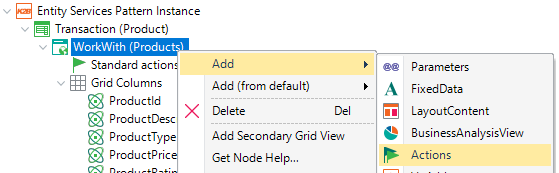 |
| Actions Node |
- Add a action node to the actions node with the following properties:
- Action Name (Id):IncreasePrice
- GXObject : IncreaseProductPrice
- Image: ImgIncreasePrice
- Position: In Grid
- Activity log class: ActionAccess
- Build your application and run the Developer Menu. Access WWProduct and click on the new action added two times in order to increase the price of a product.
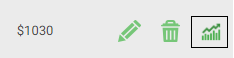 |
| Increase Price |
- Go back to your Analyzer Application in runtime by running the Developer Menu and access ActivityLog Web Panel.
|