- Create a new Web Panel, called “CustomerInvoices”.
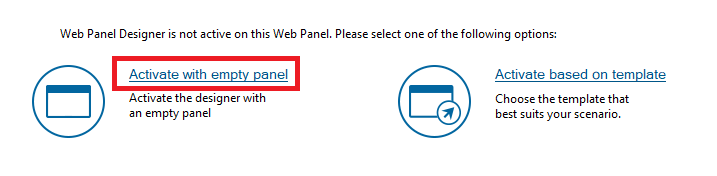
- Go to the “Designer” part, and click on “Activate with empty panel” action.
 |
 |
| Before activation |
After activation |
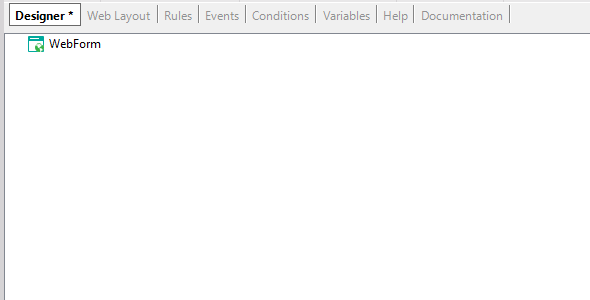
- In the “Web Form” node, set the “Title” property to “Customer Invoices”.
- Save the object, see how the Web Form, Variables, and Events parts were updated. Since it is the first time you use designer, a few objects will be imported.
- Return to the “Designer” part.
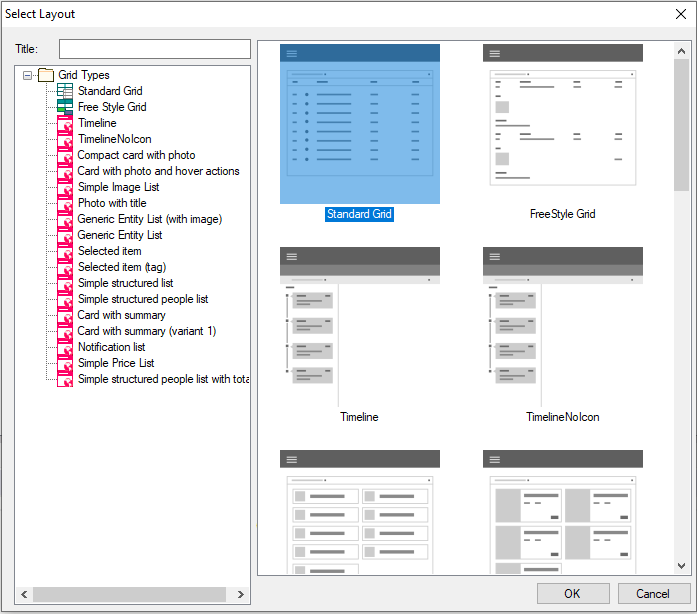
- In the “Web Form” node, right click and go to actions, then execute the “Add Grid From Transaction” option.
- Select the “Customer” transaction.
- The Select Layout dialog will appear. Select ¨"Standard Grid" Layout
 |
| Dynamic Layout Selection Dialog |
- Aflter selecting the layout a dialog will appear, where you can select how the grid’s content will be generated: using variables or attributes. Create this grid using attributes.
The Designer tree will look like this:
 |
| Designer Tree |
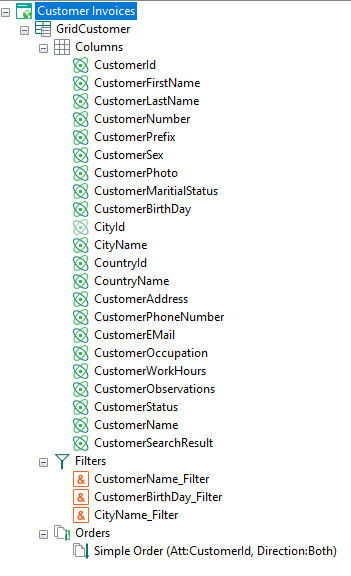
- Delete all attributes except from “CustomerId”, “CustomerFirstName”, “CustomerLastName” and “CustomerNumber”
- Delete all the filters except for the filters node. (Generic filter)
- Save the web panel. See how the web form was updated.
This is how the designer tree should look now:
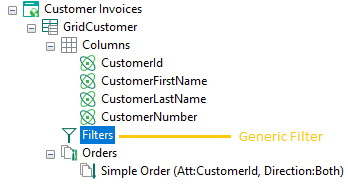 |
| Designer Tree Result |
|