In the previous exercises, we created our panel using the empty panel option. It is also possible to create your panels using templates created by our team.
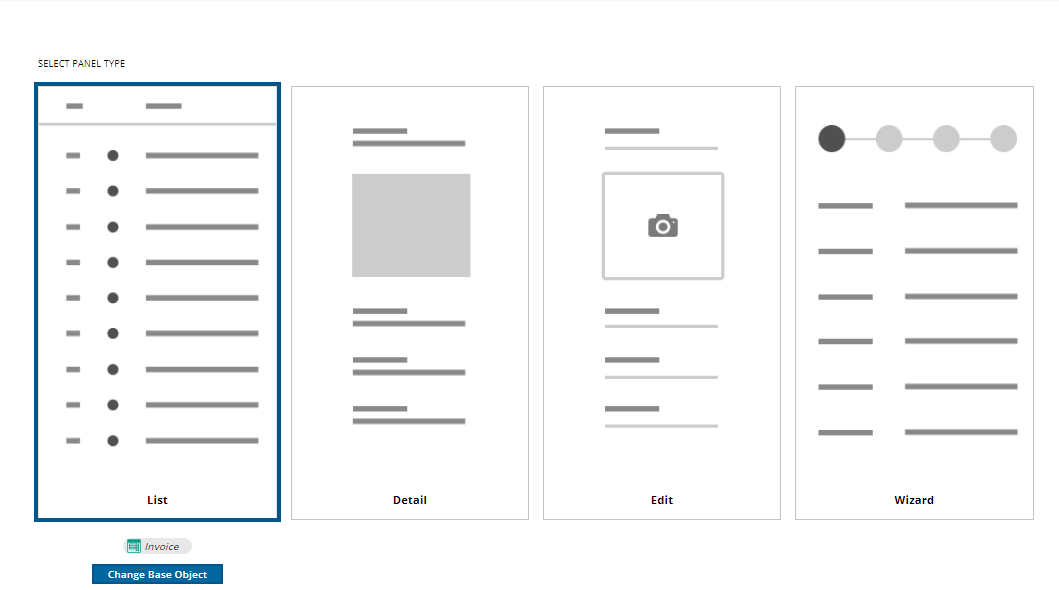
When using this option, a dialog will appear in which the developer can select which type of Web Panel is being created, which is the base object of this panel, and the template to be used.
We will now make an example on how to use it:
- Create a new web panel with name "InvoicesTimeline".
- Click on the option "Activate based on a template".
 |
| Activate based on template |
- Select "List" panel type and set "Invoice" transaction as the base object. Then click on "Next".
 |
| Invoice Base Object |
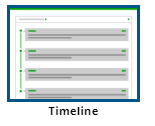
- Select "Timeline" template and click on finish.
 |
| Timeline template |
- Set "CustomerName" as summary.
 |
| Customer Name summary |
- Click on "Content" node and change the "Rows Per Page" to 20.
 |
| Rows per page |
- Build your application (F5) and see the results in runtime!
|