Now, it's time to create a Wizard User Interface that is going to allow us to pay the invoice of a customer. In order to do so, follow these steps:
- Create a new Web Panel named "InvoicePaymentWizard" and activate WebPanelDesigner.
- Go to the root node and add a "Wizard" node.
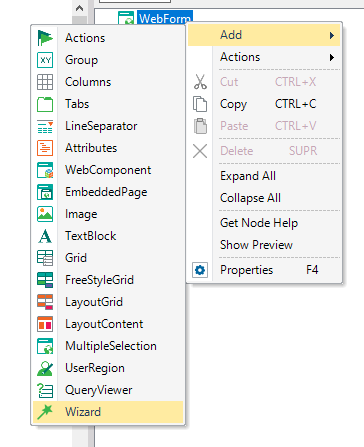 |
| Adding a Wizard node |
- Click on the Wizard node, and change the following properties:
- Title: "Invoices Payment".
- SDT: "PaymentInvoiceSDT". This SDT was included inside the initial XPZ you imported.
- Go to "Events" tab and add the following code inside'U_InitializeWizardSDT' sub routine:
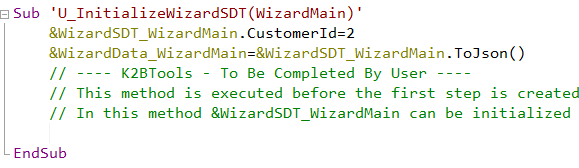 |
| Initialize Wizard SDT |
Each wizard, needs to have a “Wizard SDT”. A “Wizard SDT” is an SDT to temporary store data which will be shared among steps and will be used when the wizard is completed.
Wizards can be implemented using the WebPanelDesigner. So, to define a Wizard, create a WebPanel, activate the Designer part and add a Wizard node. In the Wizard Node set the SDT property to the SDT defined in the previous step.
|