We will now show the customer information below the grid. To do so, we will use the “Customer” transaction in display mode, and we will add a grid to show the selected customer invoices.
To do so, follow these steps:
- In the “Customer Invoices” node, right click and go to "Add->Attributes".
- Inside the Attributes node, add a "Web Component" and name it as "WCCustomer".
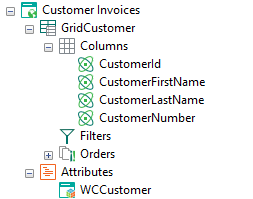 |
| WCCustomer |
- Set the "Allow Selection" property of the "GridCustomer" to true.
 |
| Allow Selection |
- Go to "Variables" part, and add a variable named "Selected_CustomerId".
|