Now it is time to add the steps that implement the wizard. Each step is implemented by a WebPanel. First, we have to create the Web Panel for this step:
- Create a new Web Panel, name it as "SelectInvoice" and activate WebPanelDesigner.
- Go to the Web Panel properties and change the type to "Component".
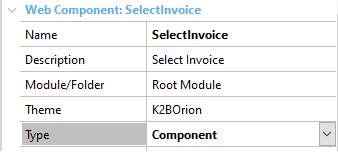 |
| Component Type |
There are two options in order to create a step. If the WebPanel exists, which is this case, a WizardStep Node can be added, and then set the WebComponent property to the WebPanel that implements the step.
- Open the "InvoicePaymentWizard" Web Panel and add a new step to the Wizard.
 |
| Add Wizard Step |
- Click on the step and change the "WebComponent" property to "SelectInvoice".
- Save the changes and Build (F5) your application.
- Go back to "SelectInvoice" web panel.
- On the root node, go to "Actions>Add Grid From Transaction" and choose the Invoice transaction.
- Select the "Standard Grid".
- Use "Attributes".
- Delete all attributes except from "InvoiceCode", "InvoiceDate", "InvoiceExpirationDate" and "InvoiceTotal". Save the changes.
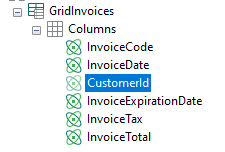 |
| GridInvoices |
- Delete all filters except from generic filter.
Click on the GridInvoices node and do the following changes to the properties:
- Name (Id): Detail
- Title: Invoices
- Collapsible: True
- Conditions: "CustomerId=&CustomerId;InvoicePaymentReceived=false;"
- Allow Selection: True
- Force MultiRow: True
- Go to events node.
- Scroll down to 'U_OpenPage' subrutine.
- Add the following code:
 |
| Custom Code |
|