|
In this exercise you will learn how to use the K2BTrnForm pattern. You will improve the Web Form in a transaction that contains multiple attributes.
- Open the Customer transaction
- Go to the “Patterns” part and select the “TrnForm” pattern.
- Select the “Apply this pattern on save” option.
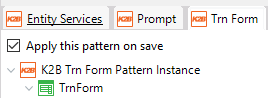 |
| Apply this pattern on save |
- Delete the following attributes: CustomerId, CountryId, CustomerObservations, CustomerStatus, CustomerName and CustomerSearchResult.
- Save the transaction.
- Observe the contents of the Web Form part of the transaction. From this moment on, the Web From for the Customer transaction will be maintained by the K2BTrnForm pattern. Now we can start using its features to improve this interface.
Groups can be used to place related attributes in an enclosed section with a descriptive title. Follow these steps to create an example:
- Add a new “Group” node inside the "Attributes" node.
- In the newly created node, set the following properties:
- Control Name (Id): "GeneralInformation".
- Title: "General Information".
- Cut and paste "CustomerPhoto" attribute inside the node.
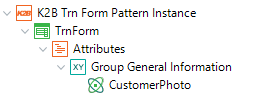 |
| Group Definition |
- Save and apply K2BTrnForm pattern instance.
Columns can be used to organize elements in vertical sections. To create a Columns node, follow these steps:
- Create a “Columns” node inside the “GeneralInformation” node created in the previous step.
- Set the property "ControlName (Id)" to "GeneralInformationColumns"
- Create two “Column” nodes inside the “Columns” node you just created.
- Cut and paste the following attributes inside the first column: CustomerFirstName, CustomerLastName, CustomerNumber, CustomerBirthDay, CityId, CountryName, CustomerSex, CustomerPrefix and CustomerMaritialStatus.
- Cut and paste the following attributes inside the second column: CustomerAddressStreet, CustomerAddressCity and CustomerAddressPostalCode
- Group your attributes so they look like in the image below (Intermediate Result).
This is how your instance should look by now:
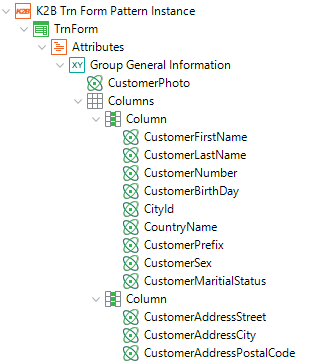 |
| Intermediate Result |
The “Line Separator” node allows the developer to group a set of related attributes, and gives the end user the choice of whether to see them or not. This is usually used in interfaces with many attributes to simplify the form. Create your first Line Separators following these steps:
- Go to the “K2BTrnForm” pattern definition.
- Add a “Line Separator” Node inside the “Column” node that contains address attributes with the following properties:
- Control Name(Id): ShippingAddressLineSeparator
- Title: Shipping Address
- Cut and Paste the following attributes into the LineSeparator: "CustomerAddressStreet", “CustomerAddresCity” and “CustomerAddressPostalCode”.
- Save the transaction and see the effect on the Web Form.
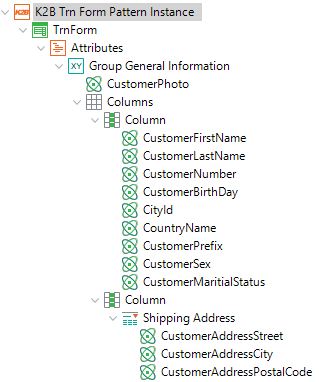 |
| Intermediate Result (2) |
Using this node (along with the Tab node) you can add tabs to the generated interface. To create these nodes, follow these steps:
- Enter the K2BTrnForm instance for the “Customer” transaction.
- Add a “Tabs” node to the “Attributes” node.
- Set the “Control Name” property in this node to “Tabs1”.
- Place this node in the bottom of the TrnForm.
- Add a “Tab” node to the “Tabs” node created in the step 2. Set its description to “Contact” and cut and paste the following attributes to this node: “CustomerPhoneNumber" and “CustomerEmail”.
- Add a “Tab” node to the “Tabs” node created in the step 2. Set its description to “Occupation” and cut and paste the following attributes to this node: “CustomerOcupation” and “CustomerWorkhours”.
- Go to the TrnFrom node and execute the action "Show Preview"
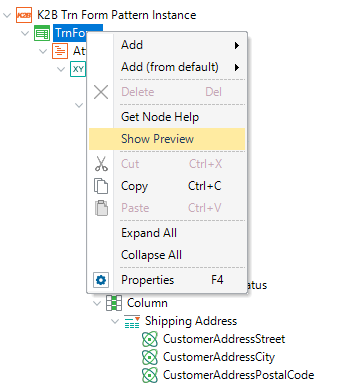 |
| Show Preview |
Note: The "Show preview" action allows the developer to see how the web form will look before specifying, generating and compiling the object. This action is also avaiable in WorkWith, EntityManager, and SubWorkWith nodes in the EntityServices pattern.
Your instance should look similar to this by now:
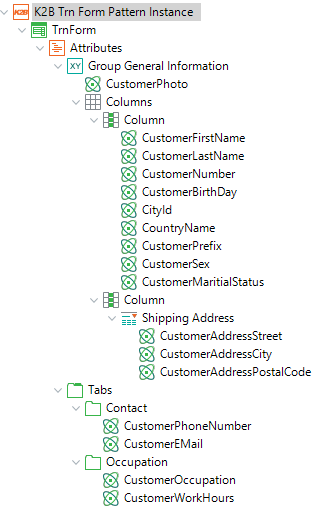 |
| Intermediate result (3) |
It’s time to see the result of all this! Execute your application and see the results in runtime.
|